


Starting a Django Project
Learn how to start a Django project and uploading it to GitHub using git


What Is Django
Django is a python web framework. It's used to developing full-stack web applications. Django is my to-go framework before considering other options when it comes to working with full-stack projects, either personal or commercial. Well, there are other options to use like Express which is a great stack too.
What Should I know before using Django
Django is a python framework, so this goes without saying that you need to know some bit of python basics and syntax before hitting the road. But as some prefer, learning as you go, Django does give too many constraints with the option too.
What to do when getting errors/bugs
Well getting a bug or a blocker is a common encounter when using any other tool or language/framework. Fortunately, Django has a large community to help you through. For starters never stop Googling. Stack Overflow is a great option too. Django forum on Google Groups, Github issues, and many more. Just Google it LOL!
Let's Code
Let's jump into setting up a Django development environment.
Virtual Environment. While it is a recommended convection to create a virtual environment, it is not a must, but it's a good developer practice. I personally use virtual environments whenever I'm working with Django.
I use python venv and that's what I'll use throughout the article, feel free to explore other available options.
What To Install Be sure to have installed Python and PIP on your local machine/laptop/desktop
Setting up a Python venv Read in-depth explanation from official python documentation
Let' setup the virtual environment on our local machines:
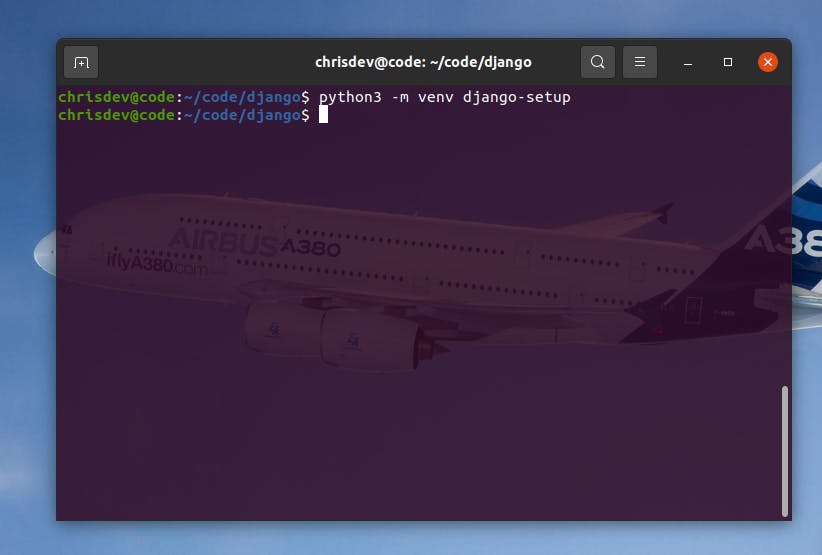
In my environment(Ubuntu/Linux) , I'll open the terminal and execute the command:
python3 -m venv django-setup
Creating a virtual Environment
 Explanation:
python3 -m venv django-setup: the 'django-setup' is the name of the folder or the project folder.
After creating that, you move into the newly created directory to activate the environment.
cd django-setup
source bin/activate
The 'source bin/activate' is for activating the virtual environment, on windows you use: 'source Scripts\activate'
Activating Virtual environment
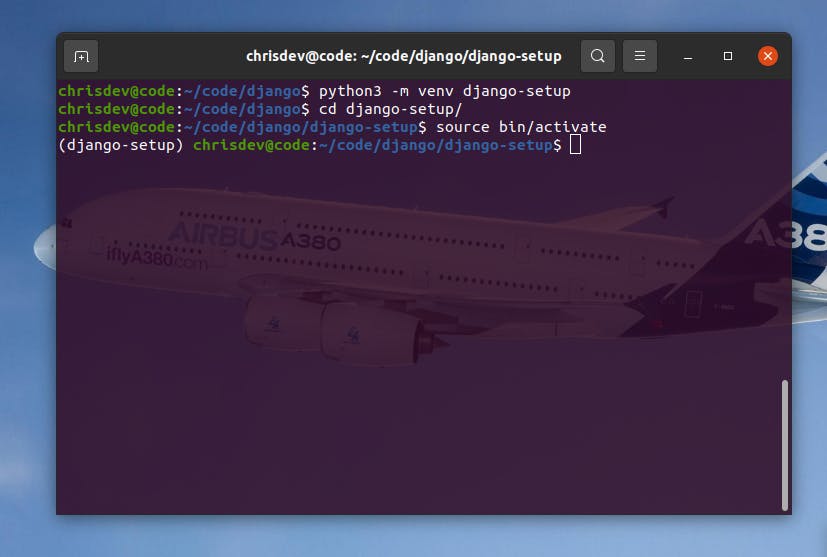
After that, the terminal current pathname will start the parent name in brackets, which shows that the environment is activated.
I usually run 'pip3 freeze' in the environment just to confirm that there is nothing installed prior to my knowledge.
If the command returns nothing, then It's good to go.
I used pip3 because I'm using python version 3, pip (for python version 2) also works as well.
Installing Django
Official docs In your activated environment, let's install Django. It's simple, run the script:
pip3 install django
or
pip install django
That's it Django is installed and ready to use.
To confirm the installed packages, use the command:
pip3 freeze
The output will display the installed packages and their versions respectively
asgiref==3.3.1
Django==3.1.6
pytz==2021.1
sqlparse==0.4.1
Starting Django Project
While still on the activated environment on your terminal/cmd, you will initialize a Django project by using the following commands.
django-admin startproject setup
Explanation
django-admin startproject {project-name}
Learn more about the commands used in Django CLI.
Change the working directory into the new folder created, and open it using your preferred text editor.
cd setup
Notice Django project structure:
├── manage.py
└── setup
    ├── asgi.py
    ├── __init__.py
    ├── settings.py
    ├── urls.py
    └── wsgi.py
Explanation:
The outer setup/ root directory is a container for your project. Its name doesn’t matter to Django; you can rename it to anything you like.
manage.py: A command-line utility that lets you interact with this Django project in various ways. You can read all the details aboutmanage.pyindjango-adminandmanage.py.The inner
setup/directory is the actual Python package for your project. Its name is the Python package name you’ll need to use to import anything inside it (e.g. setup.urls).setup/__init__.py: An empty file that tells Python that this directory should be considered a Python package. If you’re a Python beginner, read more about packages in the official Python docs.setup/settings.py: Settings/configuration for this Django project. Django settings will tell you all about how settings work.setup/urls.py: The URL declarations for this Django project; a “table of contents” of your Django-powered site. You can read more about URLs in URL dispatcher.setup/asgi.py: An entry-point for ASGI-compatible web servers to serve your project. See How to deploy with ASGI for more details.setup/wsgi.py: An entry-point for WSGI-compatible web servers to serve your project. See How to deploy with WSGI for more details.
Source:
Running the server:
To test if the project was correctly installed, we'll have to run the server to confirm:
python3 manage.py runserver
or
python manage.py runserver
or
./manage.py runserver
The server is running on port 8000. Head over to localhost:8000 to confirm.
After running the command, you'll see some warnings in RED, that's nothing to worry about, simply run
python3 manage.py migrateto get clear the warnings.
Starting an Application
In the Django folder structure, you can have applications defined inside a project. It is in an application where you define the Models (Database), Views (Templates), and routes. To create an application, we use the command below:
python3 manage.py startapp app
Explanation: After the startapp keyword, use the name of the app you desire.
python3 manage.py startapp {name}
A new folder with the app name will be created with the following structure:
├── app
│   ├── admin.py
│   ├── apps.py
│   ├── __init__.py
│   ├── migrations
│   │   └── __init__.py
│   ├── models.py
│   ├── tests.py
│   └── views.py
App Structure Explanation
admin.py: Registering your models here for them to be added and customized on the Django admin dashboard
apps.py: Contains the app configuration code
models.py: Define your models here. These are the tables used for storing data and defining their relations
tests.py: Writing tests for the app
views.py: Defining data to be rendered on the templates
Hello World!
Let's create our first page that prints out the legendary Hello World!. To do that, I love following a 3-Step process:
template => view => URL
This is simply creating the HTML file, then defining the view (what to be rendered on the HTML file), and defining the path/URL to access the page.
But first, we need to register our app to the main project.
Open up setup/settings.py and look for the application definition part:
# Application definition

INSTALLED_APPS = [
    'django.contrib.admin',
    'django.contrib.auth',
    'django.contrib.contenttypes',
    'django.contrib.sessions',
    'django.contrib.messages',
    'django.contrib.staticfiles',
]
We will configure the created app in a simple step:
adding the following inside the INSTALLED_APPS list
'app',
# Application definition

INSTALLED_APPS = [
    'django.contrib.admin',
    'django.contrib.auth',
    'django.contrib.contenttypes',
    'django.contrib.sessions',
    'django.contrib.messages',
    'django.contrib.staticfiles',

    # My Apps
    'app',
]
Step 1: Creating A Template
inside the app directory, create a new folder templates.
Note that in the newer versions of Django, no configurations for the template files are needed.
Inside the template folder, create a new HTML file, I'll name mine index.html.
Go ahead and add simple codes that display anything, or copy the one below:
<!DOCTYPE html>
<html lang="en">
<head>
    <meta charset="UTF-8">
    <meta name="viewport" content="width=device-width, initial-scale=1.0">
    <title>Django-Setup</title>
</head>
<body>
    <main>
        <h1>HELLO WORLD!</h1>
    </main>
</body>
</html>
Step 2: Defining a View
For the template to be rendered on a page, we'll have to create views for it.
A view function, or view for short, is a Python function that takes a Web request and returns a Web response. This response can be the HTML contents of a Web page, or a redirect, or a 404 error, or an XML document, or an image . . . or anything, really. - -Documentation, Django
Open the views.py file inside your app's folder and add the following code:
def HelloWorld(request):
    return render(request, 'index.html')
Explanation:
The code above is a simple python function, that returns the HTML file as a response after a request has been called.
The views.py file should be:
from django.shortcuts import render

# Create your views here.
def HelloWorld(request):
    return render(request, 'index.html')
That's it.
Step 3: Defining URLs
There are two ways to define URLs:
one is to use the
urls.pyfile in the projects config files: i.esetup/urls.pycreate a
urls.pyinside your app.
For the sake of the tutorial, I'll use the second option but I will explain both.
Option 1 (root project url):
On the project folder, open up the urls.py, (setup/urls.py).
"""setup URL Configuration

The `urlpatterns` list routes URLs to views. For more information please see:
    https://docs.djangoproject.com/en/3.1/topics/http/urls/
Examples:
Function views
    1. Add an import:  from my_app import views
    2. Add a URL to urlpatterns:  path('', views.home, name='home')
Class-based views
    1. Add an import:  from other_app.views import Home
    2. Add a URL to urlpatterns:  path('', Home.as_view(), name='home')
Including another URLconf
    1. Import the include() function: from django.urls import include, path
    2. Add a URL to urlpatterns:  path('blog/', include('blog.urls'))
"""
from django.contrib import admin
from django.urls import path

urlpatterns = [
    path('admin/', admin.site.urls),
]
We will define our paths inside the urlpatterns list:
urlpatterns = [
    # add path here
]
The syntax we'll use:
path('{define path}', define view, URL name)
First, we import our views at the top of URL file:
from app import views
The code simply imports the views module from the app folder.
After that we define the path:
path('hello/', views.HelloWorld, name='hello'),
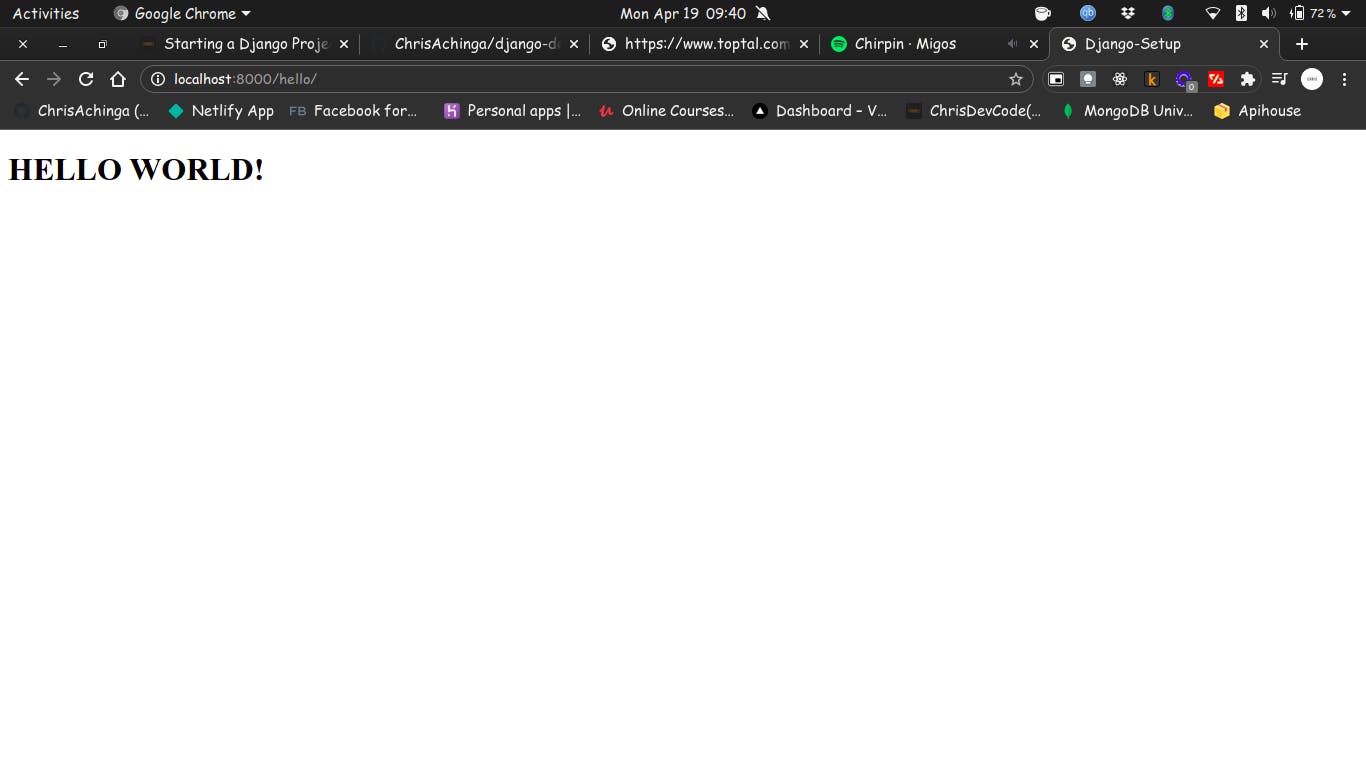
Good to Go!
> Ensure the server is still running (for some reason the server may or may not have stopped running).
Open your browser and head over to localhost:8000/hello and see the HELLO WORLD!
Option 2 (app folder URL):
This is the most used method, it simply involves creating a urls.py inside the app folder.
Let's get started:
Inside the app folder, create a new file: urls.py and add the following:
from django.urls import path
from . import views

urlpatterns = [
    path('hello/', views.HelloWorld, name='hello'),
]
Notice how we import our views: (all in the same folder)
from . import views
The next step is to add the new urls.py in our app folder to the root URLs file. (setup/urls.py).
setup/urls.py
"""setup URL Configuration

The `urlpatterns` list routes URLs to views. For more information please see:
    https://docs.djangoproject.com/en/3.1/topics/http/urls/
Examples:
Function views
    1. Add an import:  from my_app import views
    2. Add a URL to urlpatterns:  path('', views.home, name='home')
Class-based views
    1. Add an import:  from other_app.views import Home
    2. Add a URL to urlpatterns:  path('', Home.as_view(), name='home')
Including another URLconf
    1. Import the include() function: from django.urls import include, path
    2. Add a URL to urlpatterns:  path('blog/', include('blog.urls'))
"""
from django.contrib import admin
from django.urls import path, include

urlpatterns = [
    path('admin/', admin.site.urls),
    path('', include('app.urls')),
]
We added a new import, to include the URLs from the app folder.
from django.urls import path, include
Ensure the server is running and then head over to localhost:8000/hello on your browser.
There it is, you have just set up a Django project. This just the beginning of a wonderful journey.
Adding Your Project to GitHub
It is a good practice to use version control in any of your projects, I prefer GitHub. So I'll take you through a crash to upload your Django to GitHub.
Learn how to configure git and GitHub from the article below:
Creating A GitHub Repository:
Creating a GitHub repository is quite easy.
Go ahead and fill in the repo name and click on the Create repository green button.
Adding a .gitignore file
When using git and GitHub, there are some files that aren't recommended to be uploaded because of environments and security features.
The same aplies to Django, some files like the database files shouldn't be uploaded. To do that, create a new file, .gitignore in the root folder.
After that, head over to gitignore.io, and search for 'django', and copy the code, or use the code snippet below:
Initializing git
Head back to the terminal where the Django project is open, and initialize a git project.
To do that simply use:
git init
After that, the output (an example is shown below), shows that the git repository is already initialized.
Initialized empty Git repository in /home/chrisdev/code/django/django-setup/setup/.git/
We will need to commit the files to git, using a few simple steps.
While still on the project's terminal/cmd directory, run the commands below:
git add .
git commit -m 'initial django-setup'
Explanation - git add
This command updates the index using the current content found in the working tree, to prepare the content staged for the next commit. It typically adds the current content of existing paths as a whole, but with some options, it can also be used to add content with only part of the changes made to the working tree files applied or remove paths that do not exist in the working tree anymore
Source
Explanation - git commit
Create a new commit containing the current contents of the index and the given log message describing the changes
After that, head over to the GitHub page where you just created the repo, there is a card title
Quick setup — if you’ve done this kind of thing before
with various options on how to upload or connect your project files, I will use the second option …or push an existing repository from the command line:
git remote add origin https://github.com/sryderdev/django-setup.git
git branch -M main
git push -u origin main
Copy and paste the code from your end on the terminal/cmd.
And that's it your project is now on GitHub...
The next article will be on how to set up static files to add styling and functionalities to the templates we created.
For referral, the repo can be found in:
github.com/ChrisAchinga/django-demo/tree/st..
Reach out via tWittEr Peace.