


It's normal to have a back-end on your website for your forms to be functional. Say no More!
Netlify offers hosting to static websites and serverless technologies, and it comes with super great features including form handling without a back-end.
Let's build a form with Netlify:
What you will need:
- Netlify account
- GitHub account
First off let's start with a simple html form:
Create a new html file and paste the snippet below:
      <form method="post" name="Friends">
        <p>
          <label for="friend-name">Name:</label>
          <input type="text" name="name" id="name" />
        </p>
        <p>
          <label for="Country">Country Of Residence:</label>
          <input type="text" name="country" id="country" />
        </p>
        <p>
          <label for="stack">Your Tech Stack:</label>
          <select id="stack" name="stack">
            <option value="front-end">Front-End</option>
            <option value="back-end">Back-End</option>
            <option value="mobile-developer">Mobile-Developer</option>
            <option value="full-stack">Full-Stack</option>
          </select>
        </p>
        <p>
          <input type="submit" />
        </p>
      </form>
We have a simple form that takes in few input from a user., so let's deploy the site from Netlify. (Add the file to your new GitHub Repository and deploy form netlify by linking the repo)
Netlify Forms
To start using Netlify forms, you only need to add a few attributes to your
tag. You can either usenetlify or data-netlify="true"
<form method="post" name="Friends" netlify>
<form method="post" name="Friends" data-netlify="true">
Use any attribute that makes you feel comfortable. Just like that, you have a functional form on your static site, for real!
To test your form, go the URL provided by netlify and submit and entry
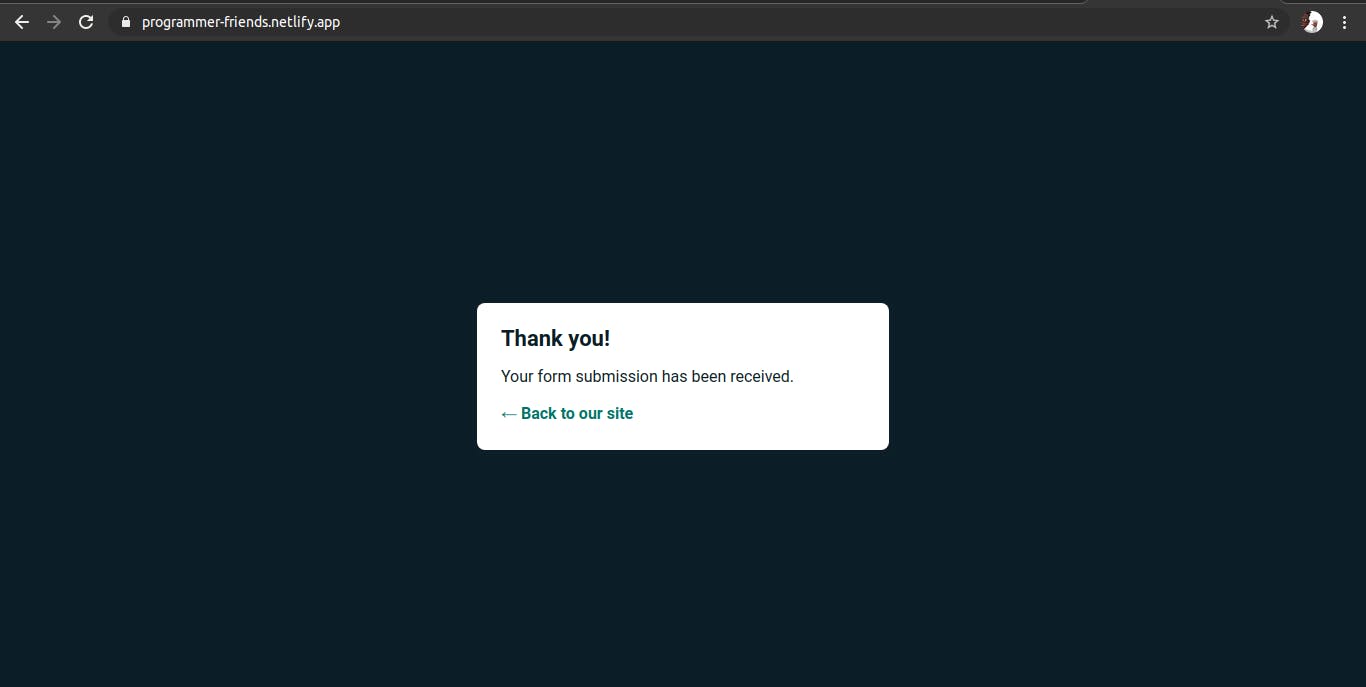
To view your submissions, head over to Netlify dashboard under the Forms tab.
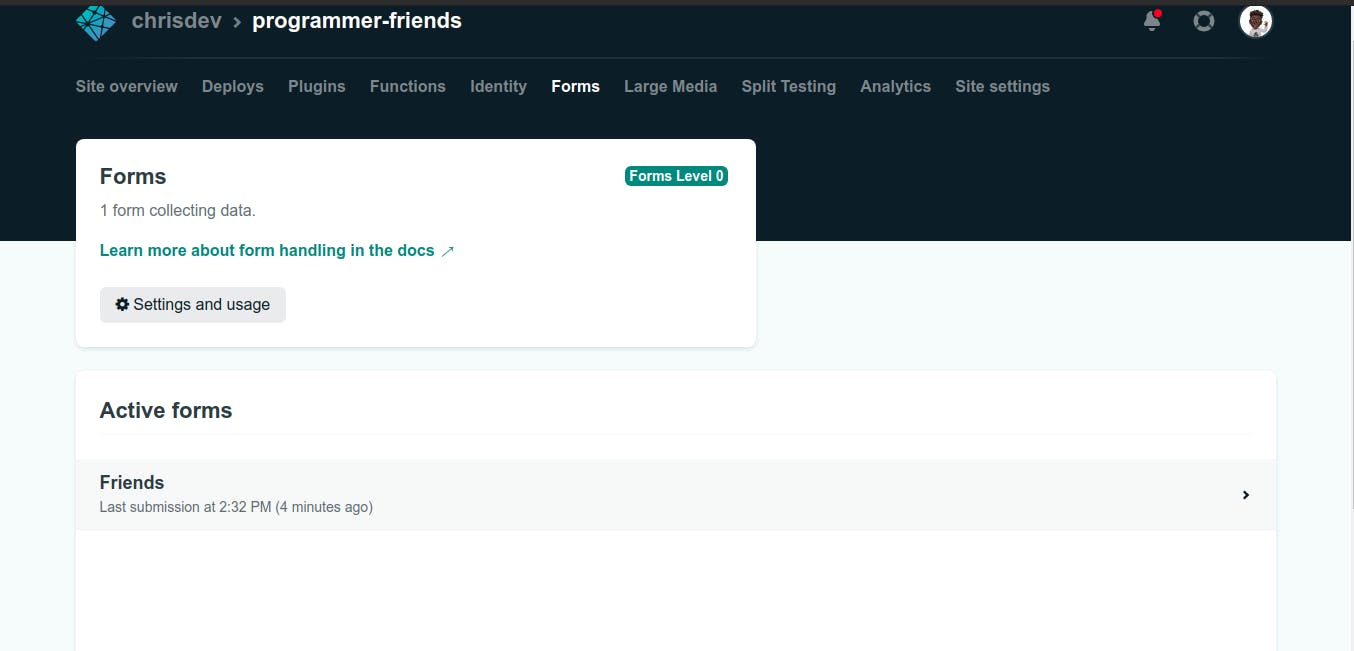
Click on the name of the form to view the submission.
Adding a Customized response page
Create a new html form, success.html and copy the code below, or add your own success message code:
<!DOCTYPE html>
<html lang="en">
  <head>
    <meta charset="utf-8" />
    <meta
      name="viewport"
      content="width=device-width, initial-scale=1, shrink-to-fit=no"
    />
    <title>Success</title>
    <link
      rel="stylesheet"
      href="https://bootswatch.com/4/slate/bootstrap.min.css"
    />
    <!-- Custom styles for this template -->
    <link href="cover.css" rel="stylesheet" />
  </head>
  <body class="text-center">
    <div class="cover-container d-flex w-100 h-100 p-3 mx-auto flex-column">
      <main role="main" class="inner cover">
        <p class="lead">
          <a href="#" class="btn btn-lg btn-secondary"
            >Thank You, I have Recieved Your Details Buddy</a
          >
        </p>
      </main>
    </div>
  </body>
</html>
After that add an action attribute to you opening
tag:<form method="post" name="Friends" action="/success.html" netlify>
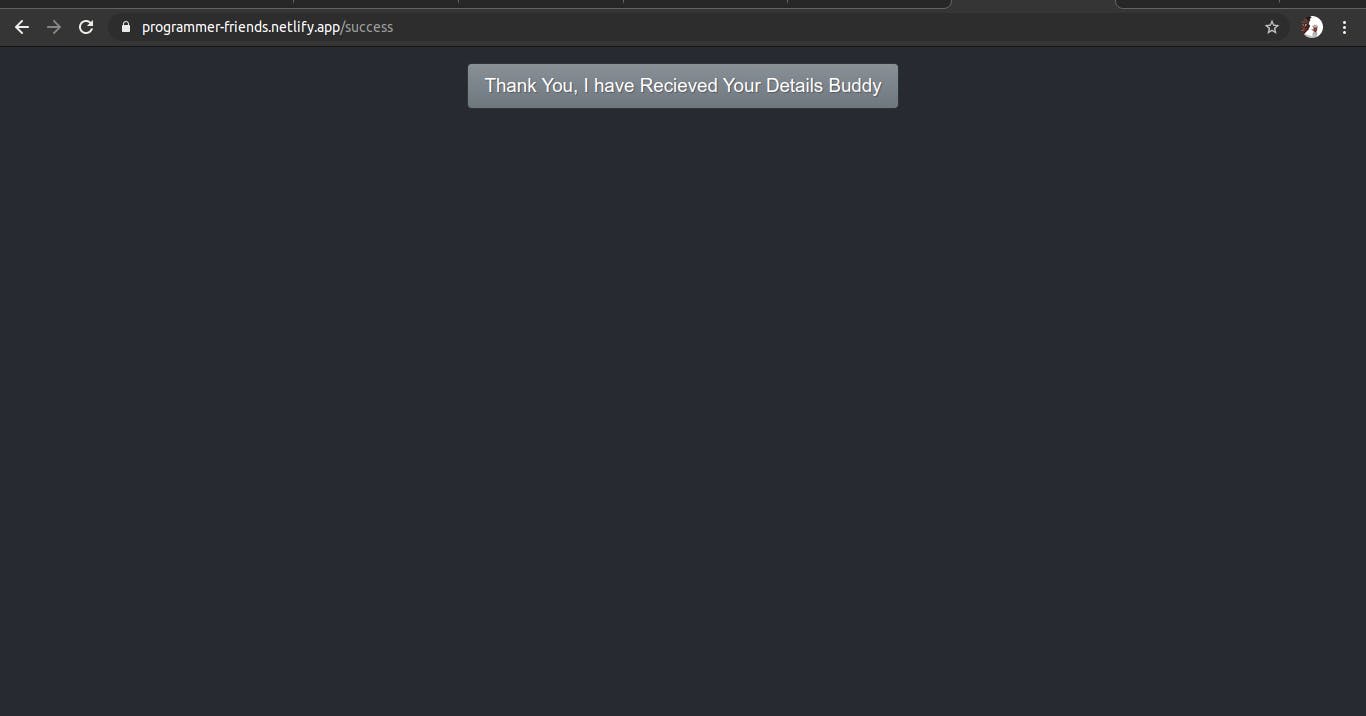
After that, update the GitHub repository and refresh your page and try out the new changes, see what happens after submitting another form.
The new customized response page.
The End!! Watch out for more interesting articles by subscribing to my newsletter on my my blog