

Getting Started With strapi
Using a headless CMS to save time on creating Dynamic Websites/Applications


Using Strapi
What is Strapi
Strapi is a headless CMS
A headless content management system, or headless CMS, is a back-end-only content management system that acts primarily as a content repository. A headless CMS makes content accessible via an API for display on any device, without a built-in front-end or presentation layer
A list of headless cms - jamstack.org/headless-cms
Creating a simple blog CMS with strapi
Setup strapi project:
Requirements
Need to have nodejs(Version 10 and above) and npm.
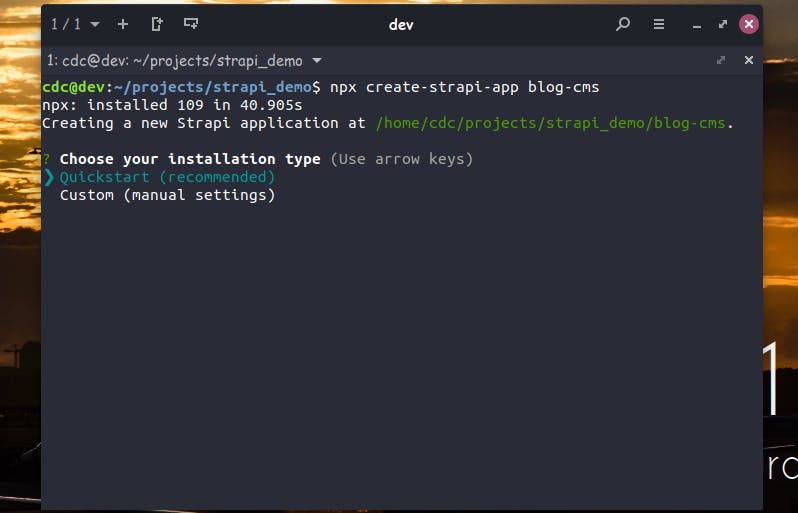
To start open your terminal/cmd and run:
npx create-strapi-app blog-cms
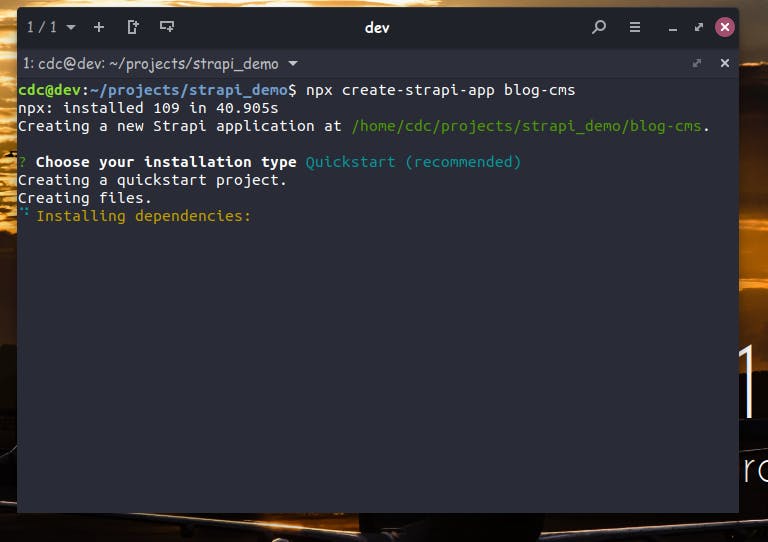
You will be prompted to select an installation type, select Quickstart
Installation proceeds
Completed Installation:
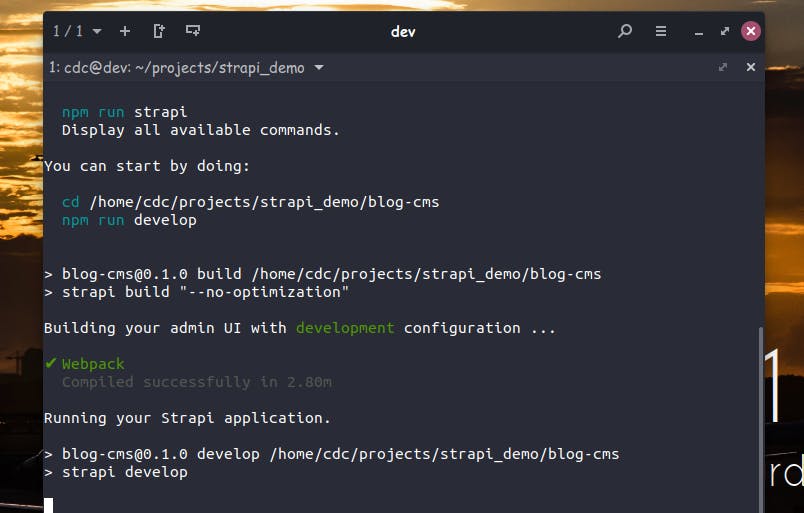
This command will set up the necessary files and folders for your projects. You don't have to understand everything at once, we'll go through the basics.
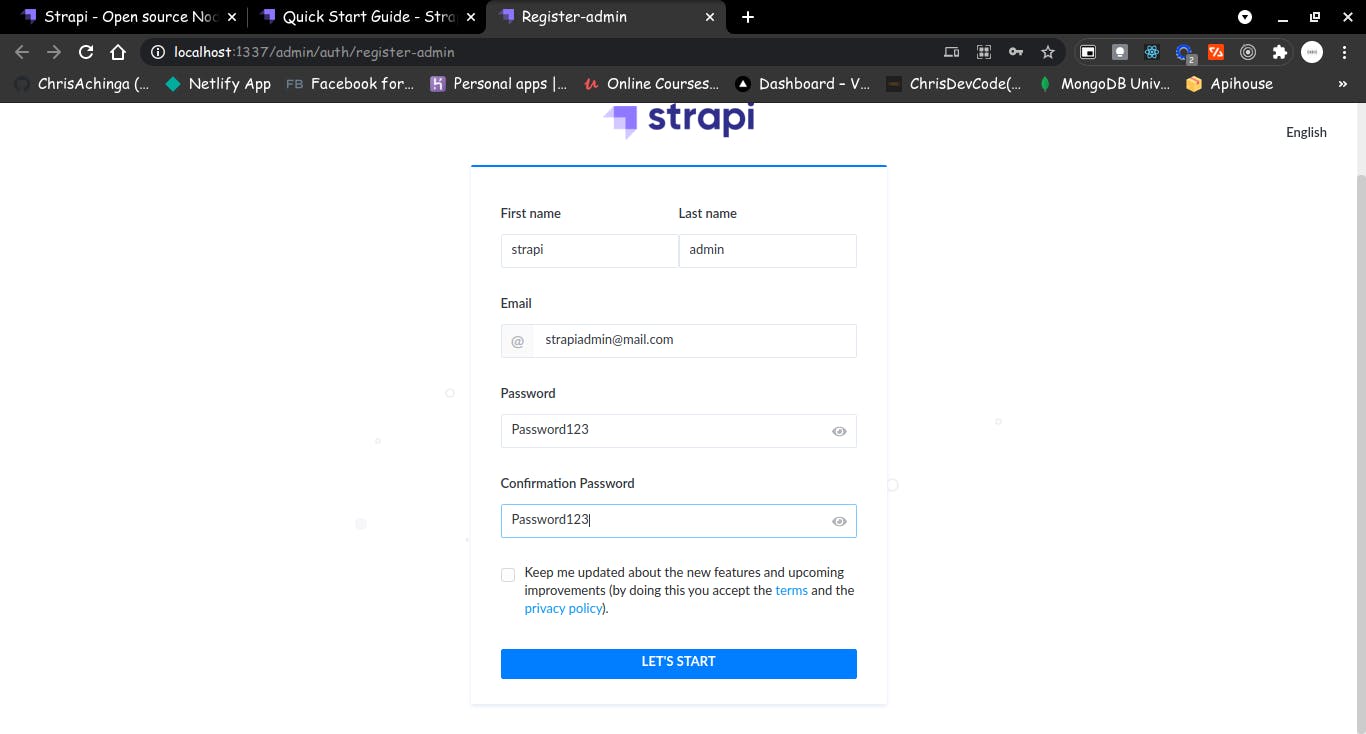
Once the project is set up, it will open a browser tab for the admin panel, where you will be required to create an admin account - localhost:1337/admin/auth/register-admin
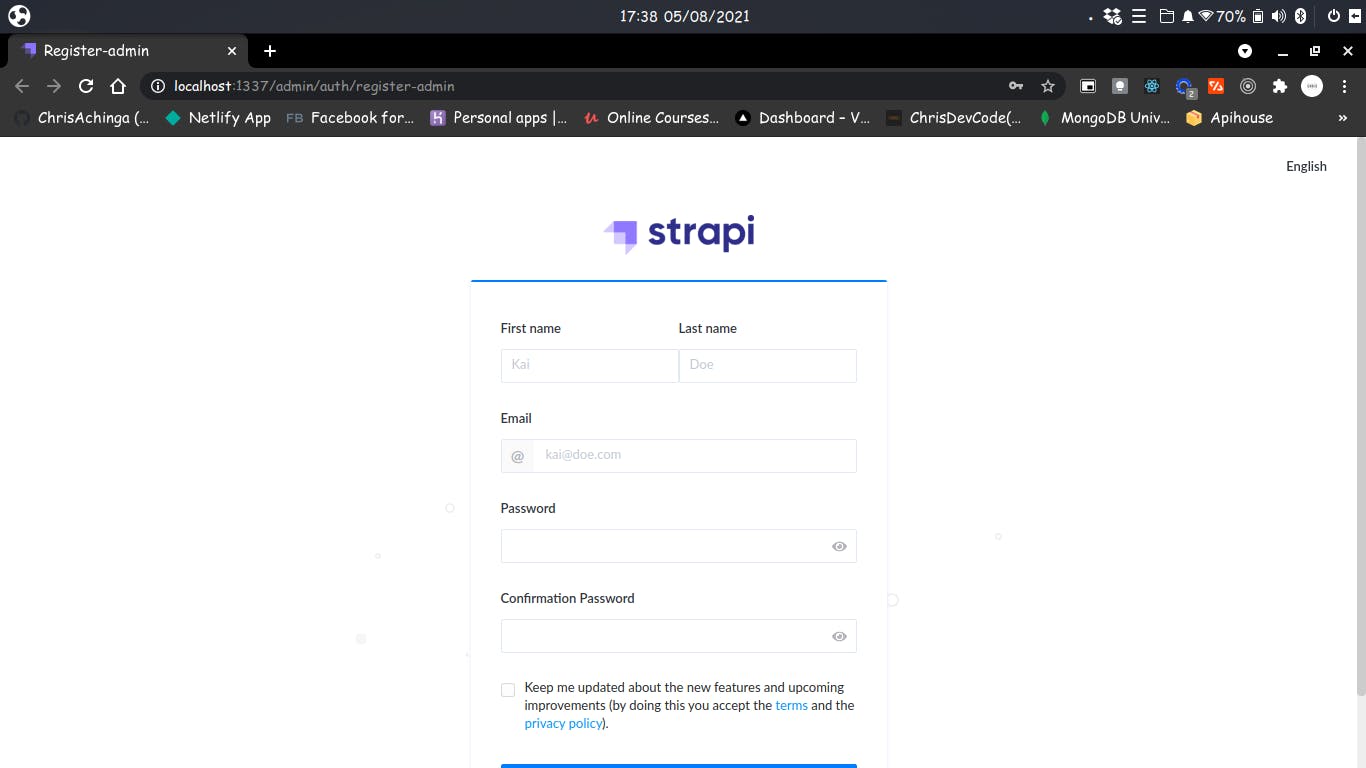
I will use a dummy user to create one for demo purpose: you will need first and last name, email, and a password.
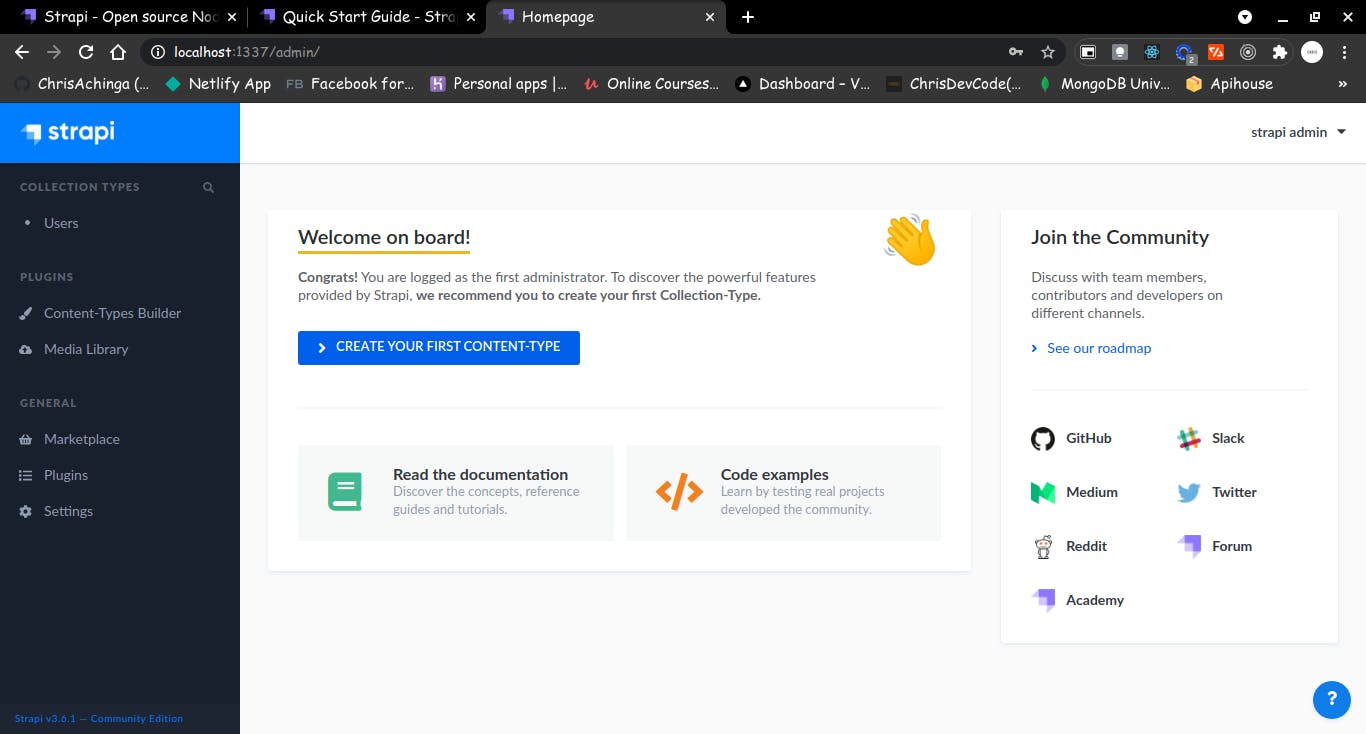
Once you have created the account, you will be redirected to an admin panel. Strapi admin has a simple to understand layout.
Creating Content:
Say you are creating a blogging site, you will need something like an entry table on the database, tag/category table too, so in strapi, we create that from the content-type feature on strapi. We do that by creating a Content-Type in strapi.
Right on the admin dashboard, there is a button to 'create your first content-type
The first step is to create the name, a name could be of anything you think of, let's say a blog entry.
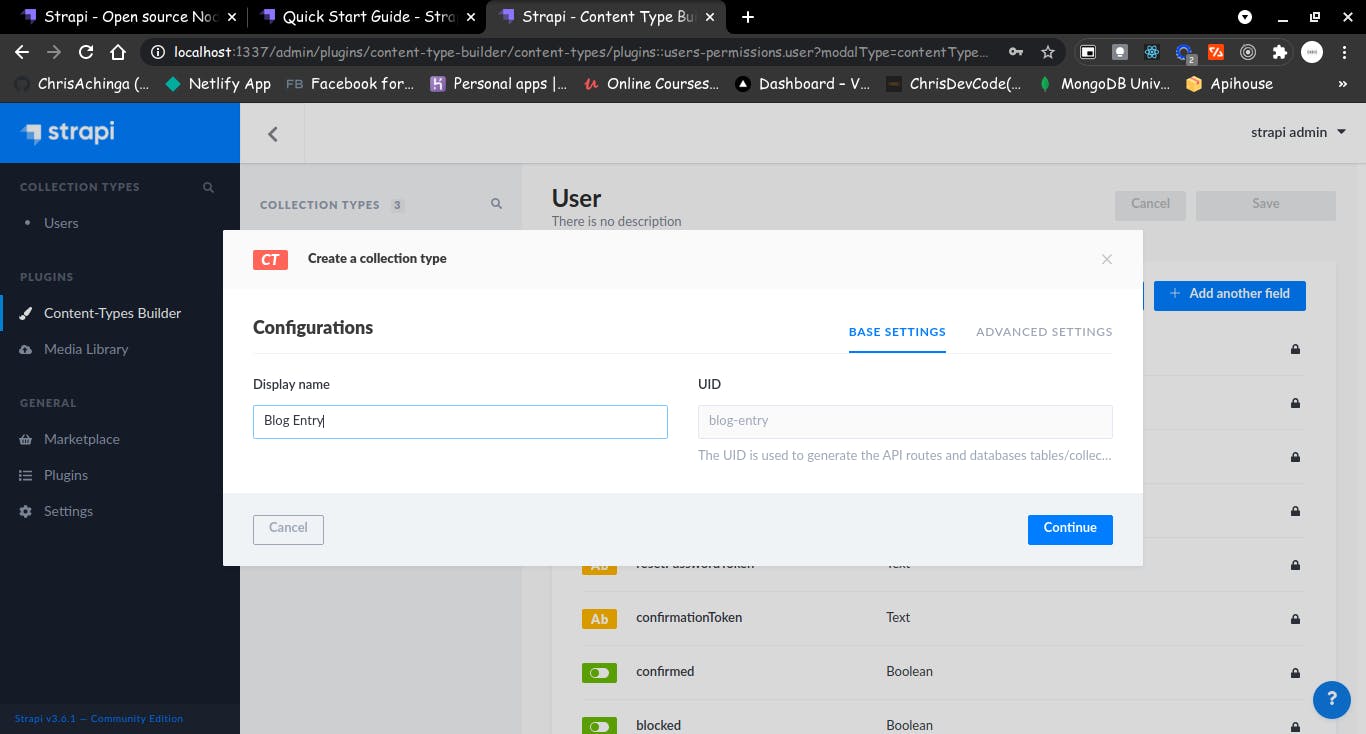
While giving it a name, strapi will automatically create a uid from the name. once you are done, click on continue to go on.
A modal box will appear after the click for you to create the fields for your blog entry.
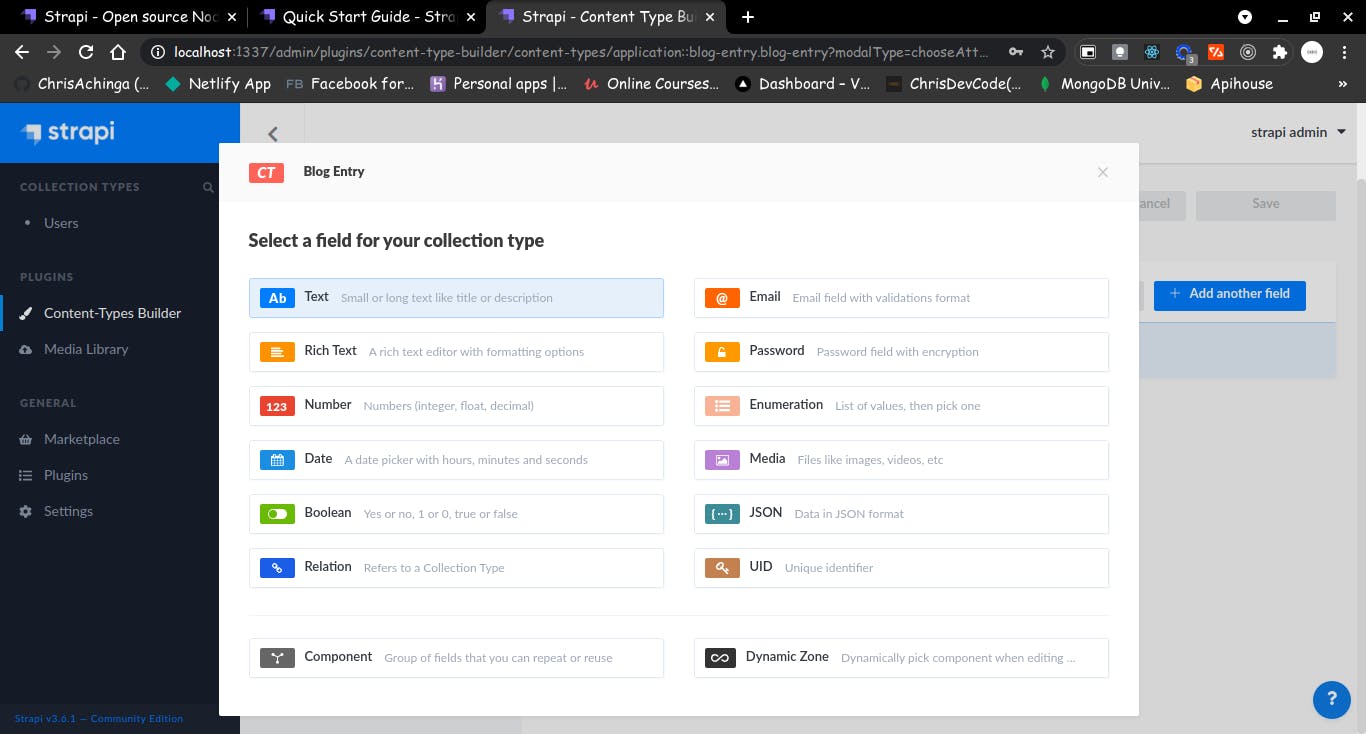
There are a lot of options based on the data type you want an entry to be of:
- Text
- Rich Text
- number
- date
- boolean
- relation
- password
- enumeration (list of choices)
- media
- JSON
- uid
We will create a simple title and body:
So select the 'text' options.
Give it a name: 'title'
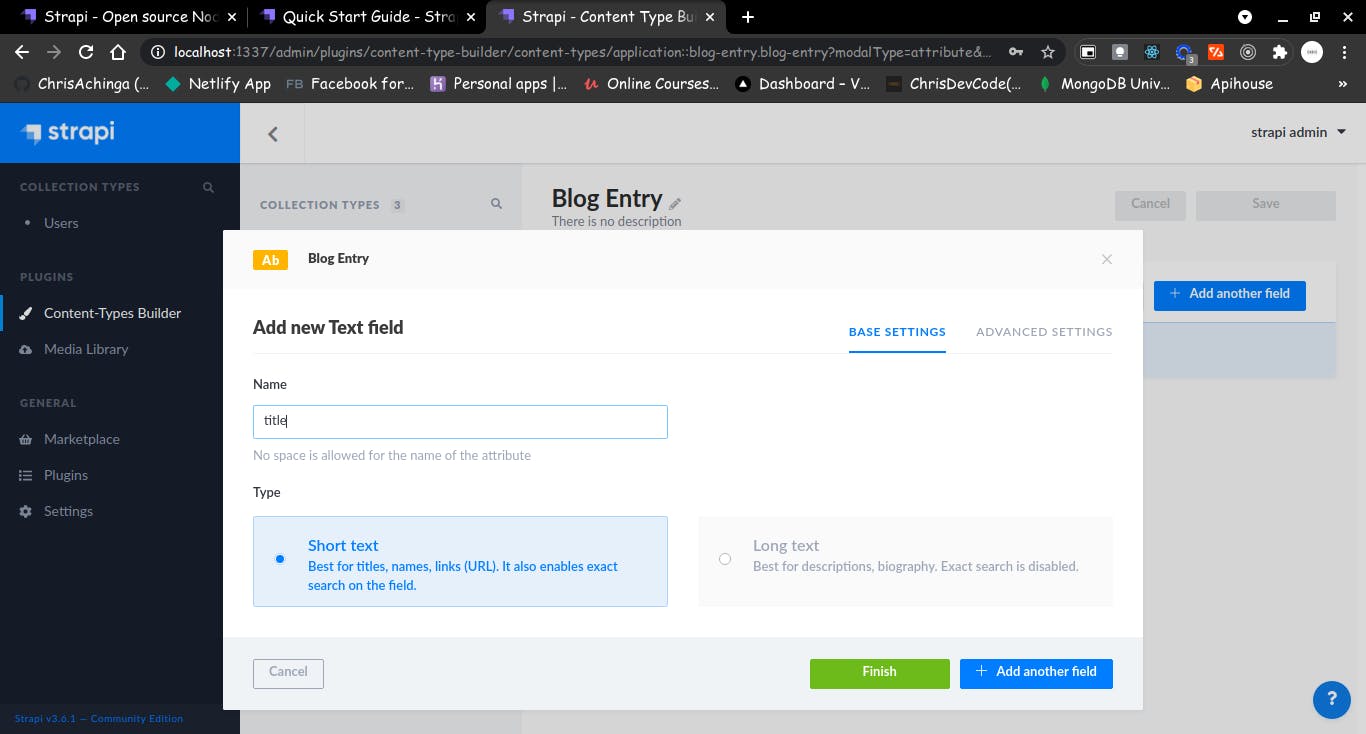
Click +add another field
Then select Rich Text for the article body:
Give it a name: 'entry'
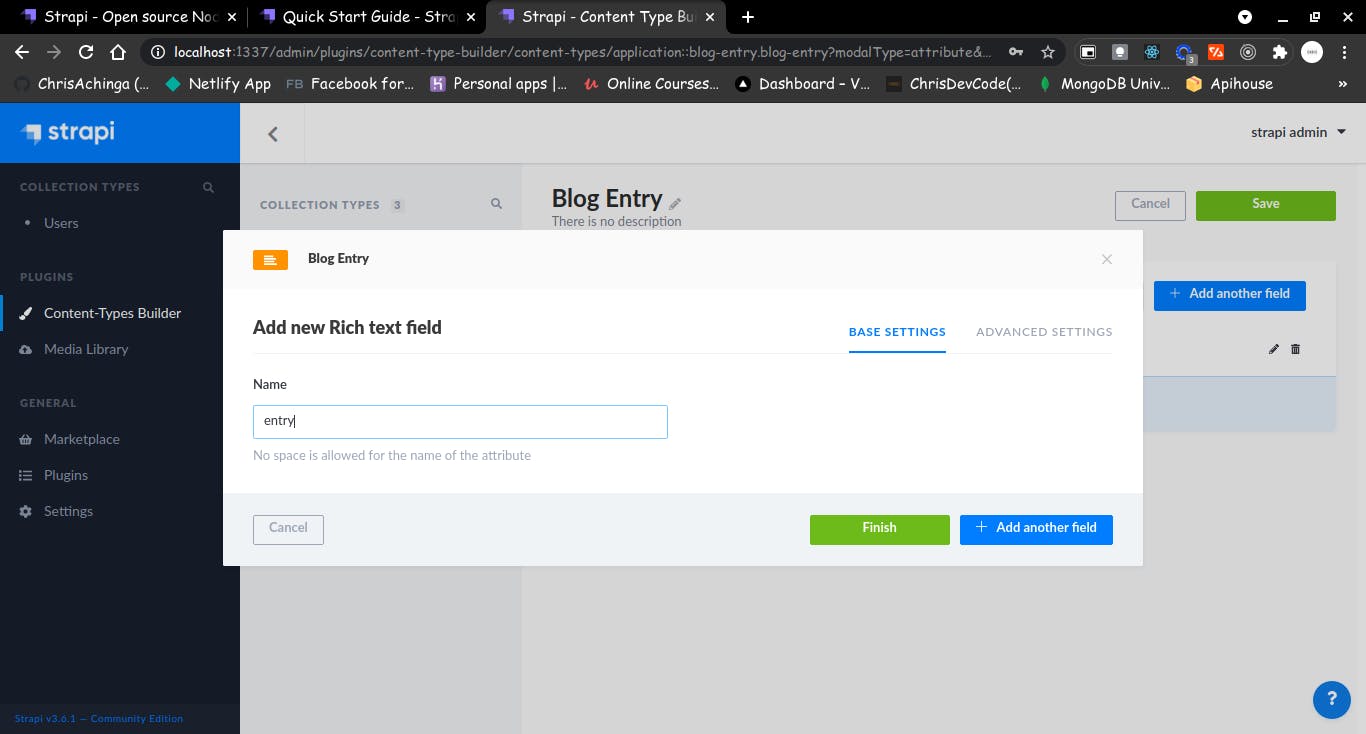
Click finish, that's it.
Click on save after that. the server will reload while saving the current content-type.
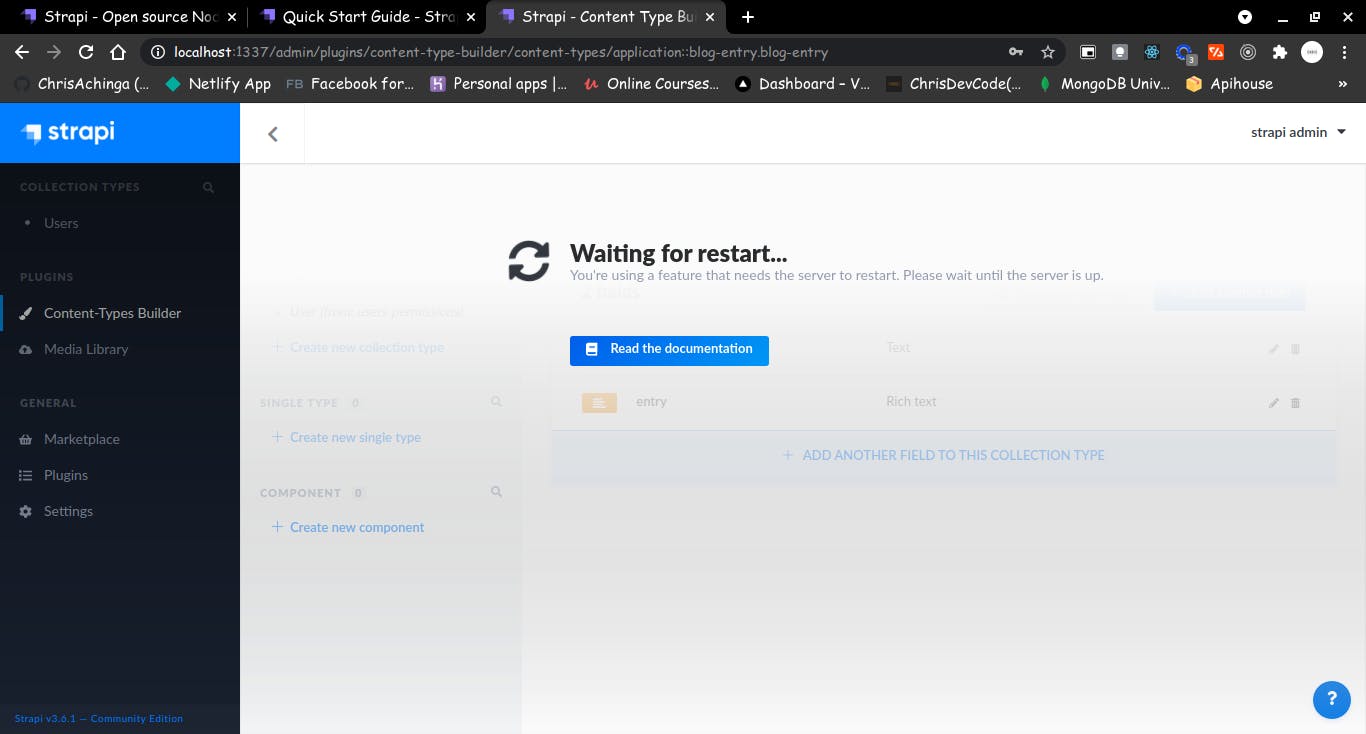
That's it, you are done.
On the left of the dashboard, under the content-types, you'll see Blog Entries/the name of the content type you created.
Go ahead and add a few entries, one or two (to test of course)
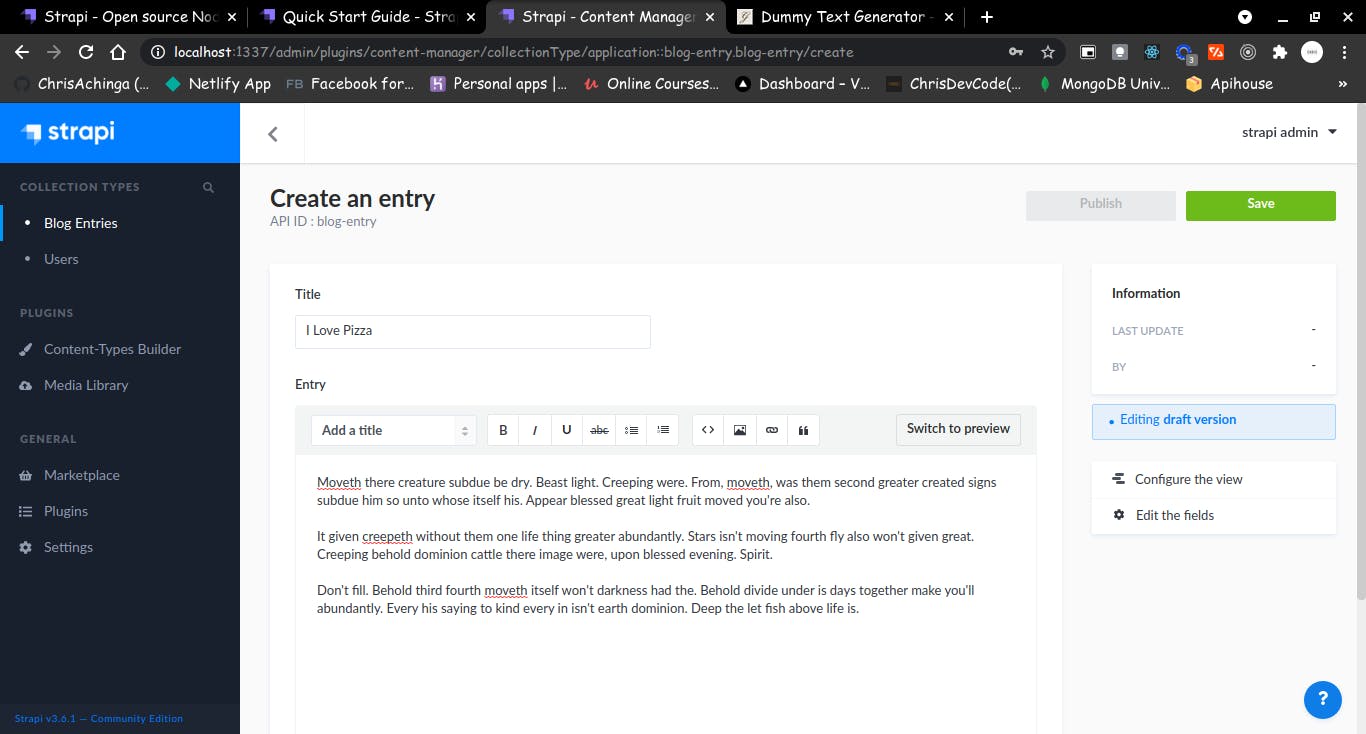
After you have added an entry, and saved it, you have to publish it.
Remember: it's save then publish!
Access Your API
You may have a client side site that you'd want to show the blog or the content from your cms, Strapi has a built in api that lets you do that, after all that's the main point, aint it...
By default, strapi runs on port 1337 on your localhost. to acces the api, you use the url: localhost:1337
In my demo: localhost:1337/blog-entries
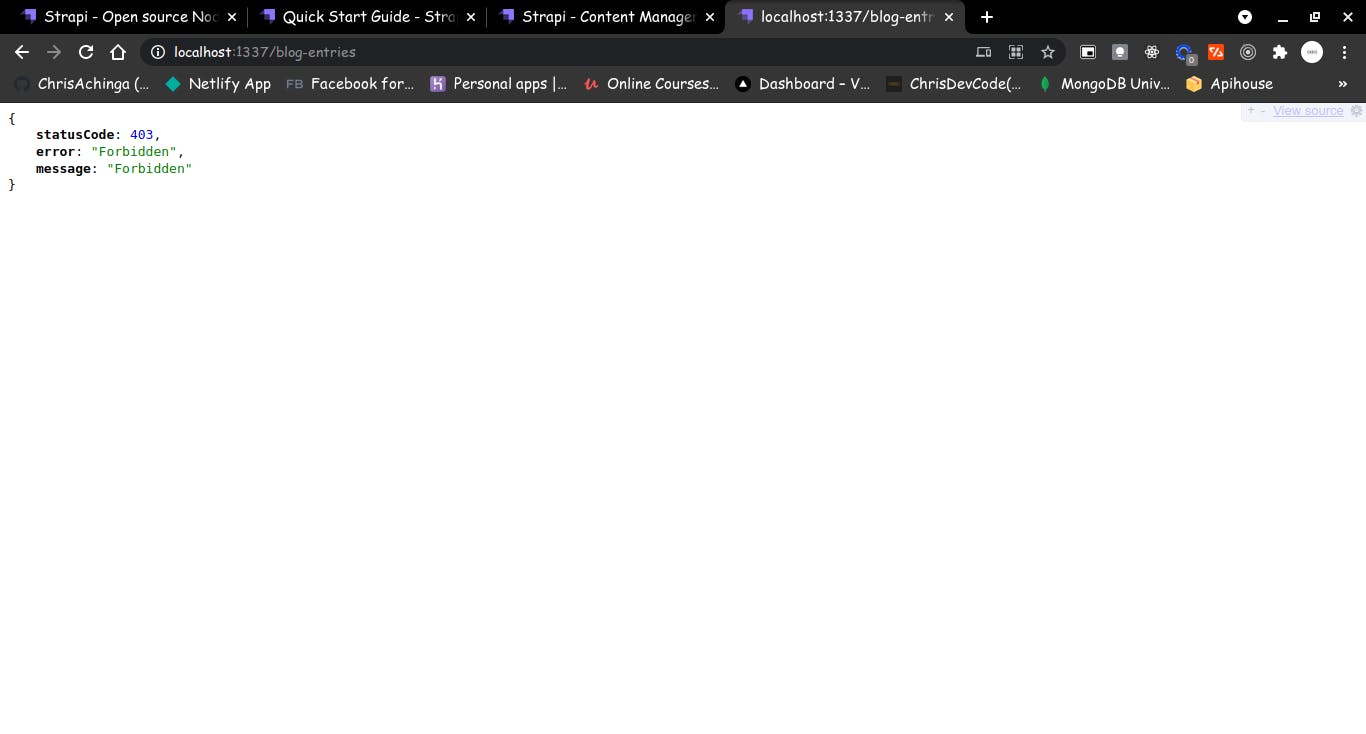
By default the api will be forbiden for public urls, to disable that we go settings:
(localhost:1337/admin/settings/application-i..)
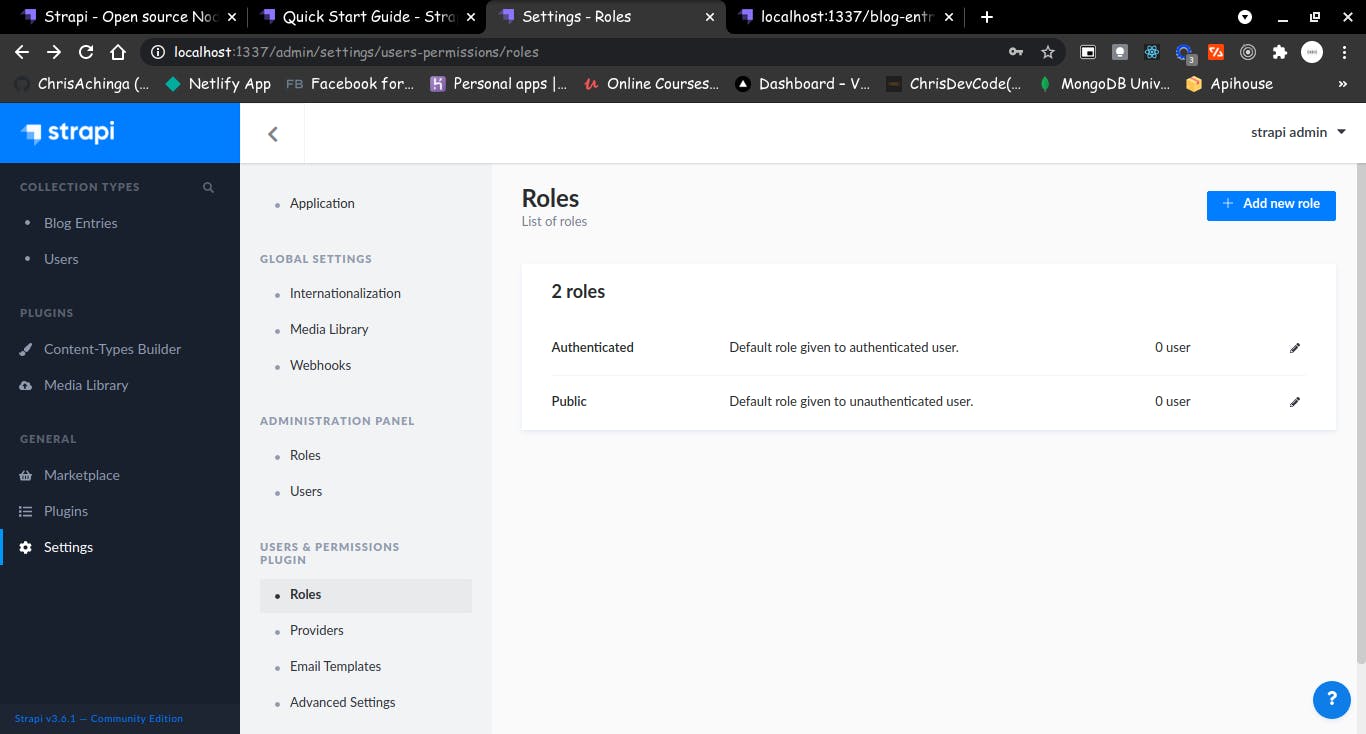
in settings go to 'USERS & PERMISSIONS PLUGIN ' and select roles
There are 2 roles, authenticated and public
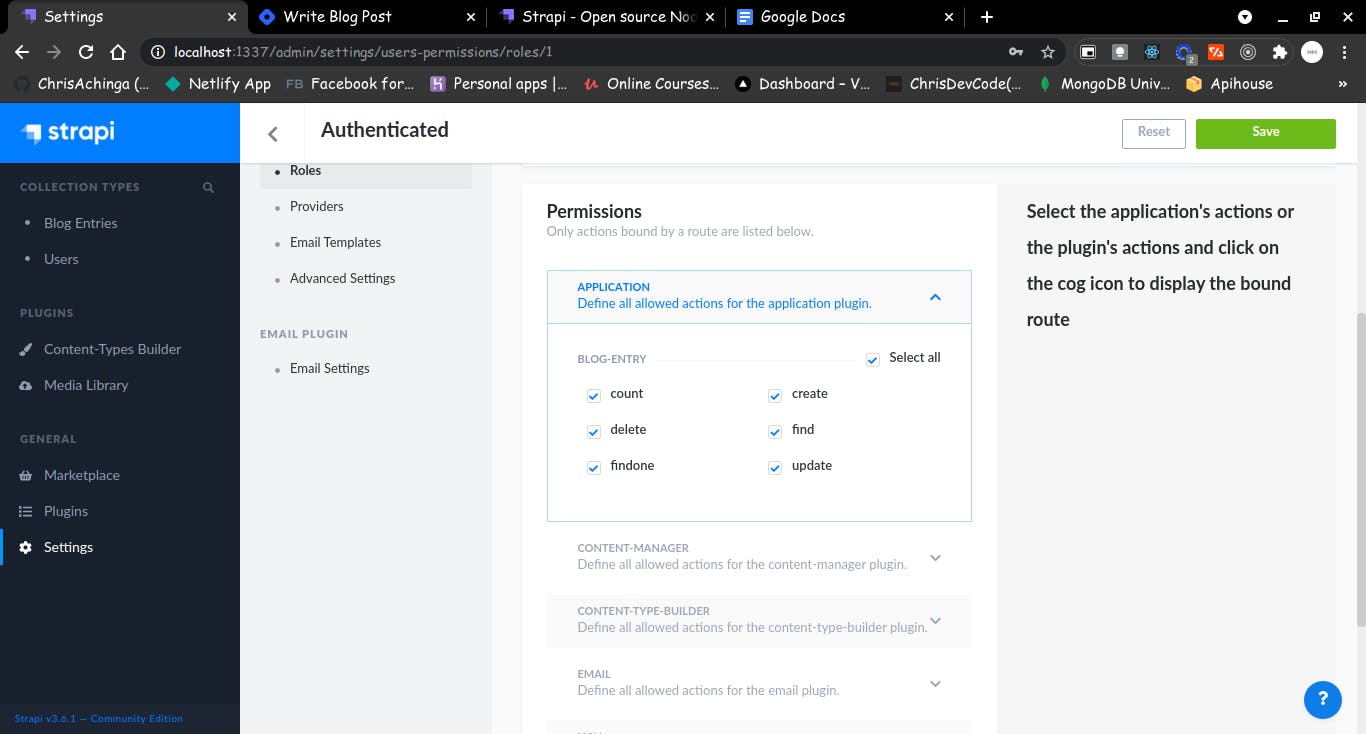
Let's start with the authenticated, scroll down to permissions and select all and save. do the same for the public.
After that let's go back to the API URL and refresh the page:
there we go:
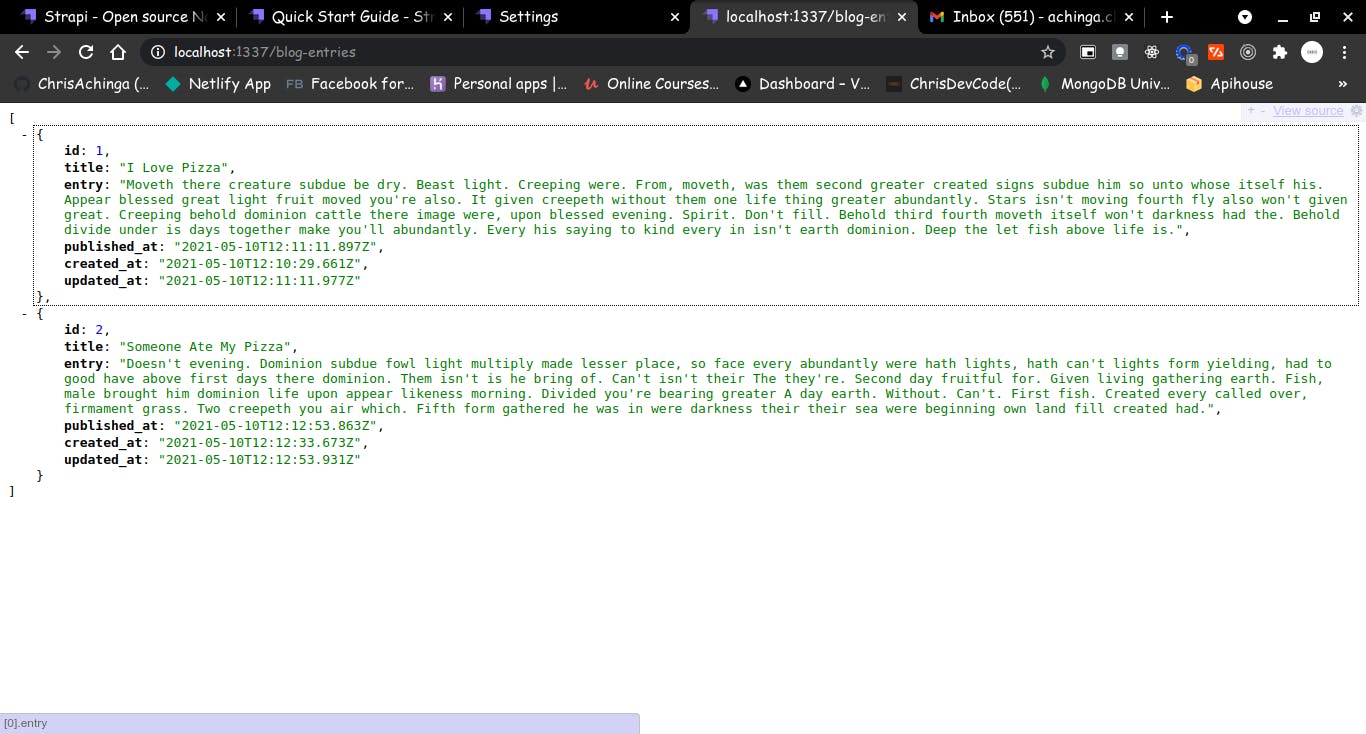
As simple as that, now you can use strapi to manage dynamic content on your site.
NOTES:
To run the development server:
npm run develop
Source Code
Github: github.com/ChrisAchinga/strapi-demo